Hello Mommies!
This month the Sewing Group will be making these adorable Halloween Treat Bags. Anna Theurer has send the message with the step-by-step directions and everything that you need for the project. The Sewing Group will be meeting at PSCC on October 18th, at 7pm. So come on over, even if you don't have a sewing machine (you can borrow someone else's), bring your supplies and spend a fun evening with your friends. Below is the note from Anna:
I LOVE LOVE LOVE Halloween! Did I mention that I love Halloween? The costumes, the candy, the black cats like my Tama Boo, pumpkin spice coffee, the smell of Autumn. . . sigh.
Anyway, this post is about making trick-or-treat bags in less than 1 hour. It is easy peasy and it does not require a lot of sewing skill. Trust me on this. I am not a great seamstress and I still was able to make a little trick-or-treat bag. I learn best by pictures and so bare with me as I post every single step.
Materials:
Sewing machine
Thread
Scissors
Iron + Ironing Board
Contrasting pieces of fabric:
- Two squares of the main fabric measuring 20 inches by 20 inches
- 2 handle pieces from the main fabric measuring 12 inches by 6 inches
- Two squares of contrasting/lining fabric measuring 20 inches by 20 inches
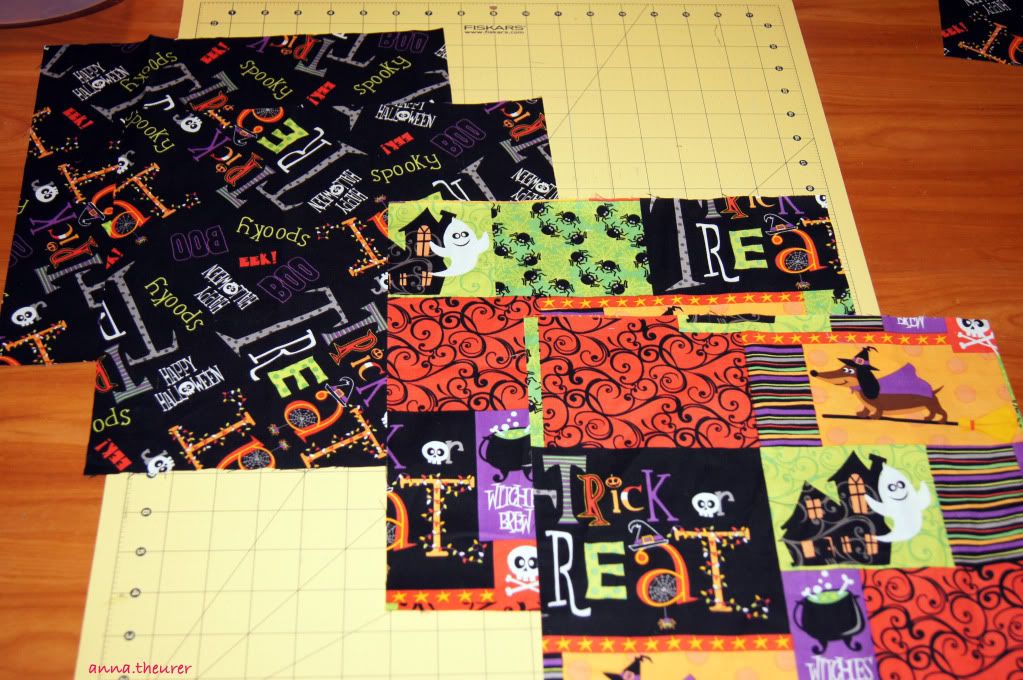 |
| 4 squares measuring 20 x 20. Two from main fabric and two from contrasting fabric.
Handles not shown. |
You are more than welcome to change the dimensions of the bag. Just be sure that the large pieces of fabric are all the same size because you are making the main bag and a lining. You can also make the handles longer if you like.
At the bottom of each large square, use your scissors to remove 2x2 squares from each side like so:
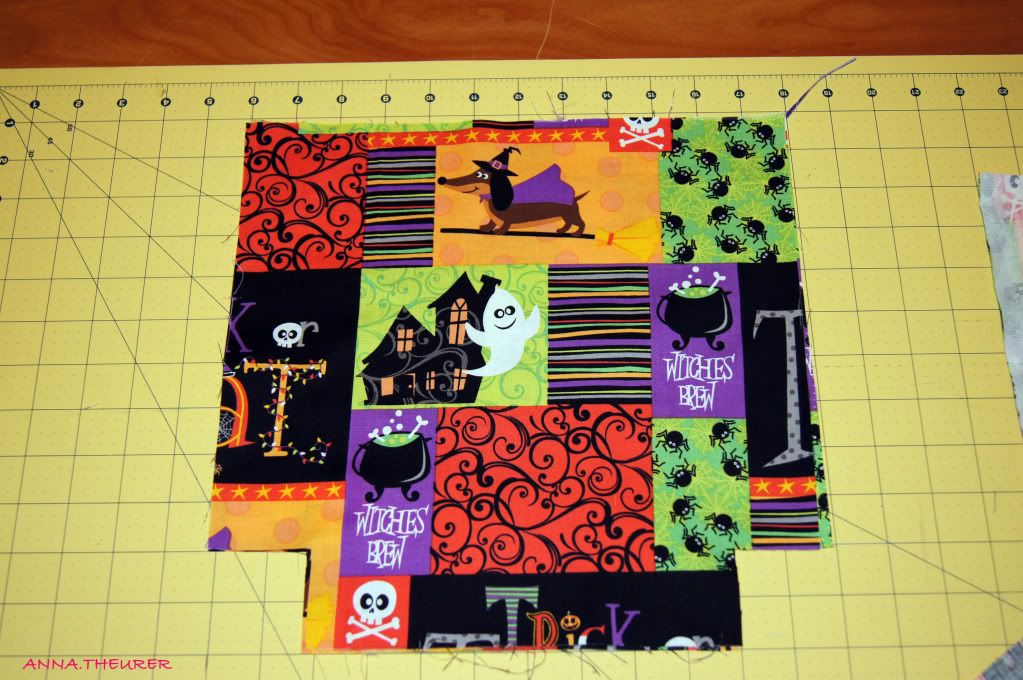 |
| 2 x 2 square removed on each bottom side of the fabric. |
Do this to all four large pieces of fabric.
Take two matching bag pieces. Place them RIGHT sides together. You are going to sew the two sides and the very bottom together. Leave the little squares on the bottom unsewn! By doing this, you should have to holes on each bottom corner. Repeat with other two matching pieces of fabric.
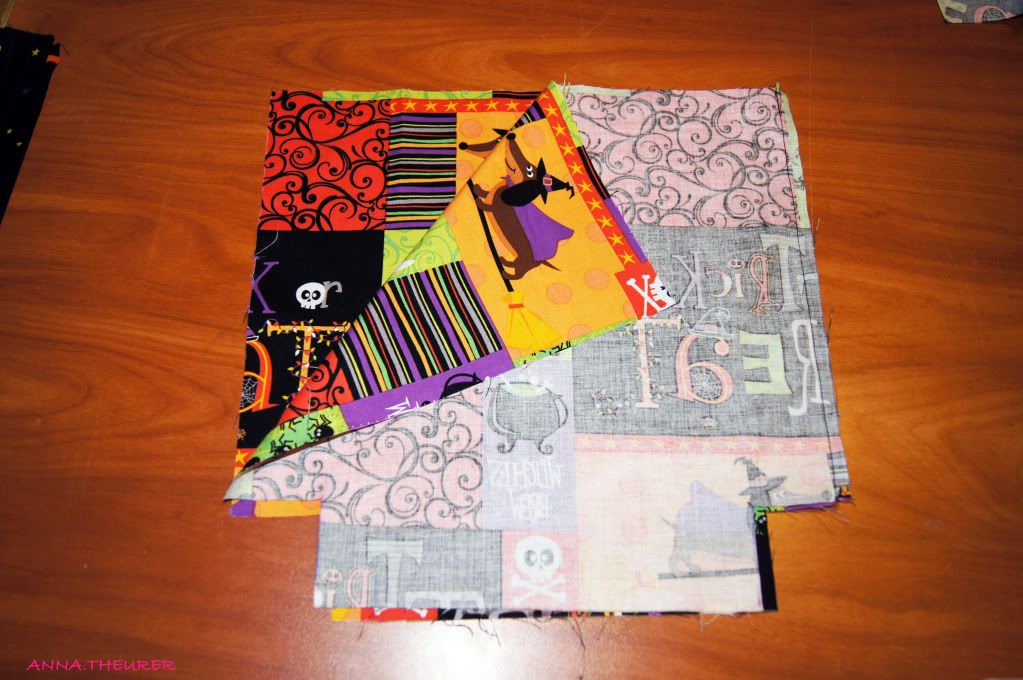 |
| Sew the sides and bottom together. |
For the bottom of the tote:
Open up the holes at the very bottom of the bag so that the end of the side seam meets perpendicularly to the bottom seam.
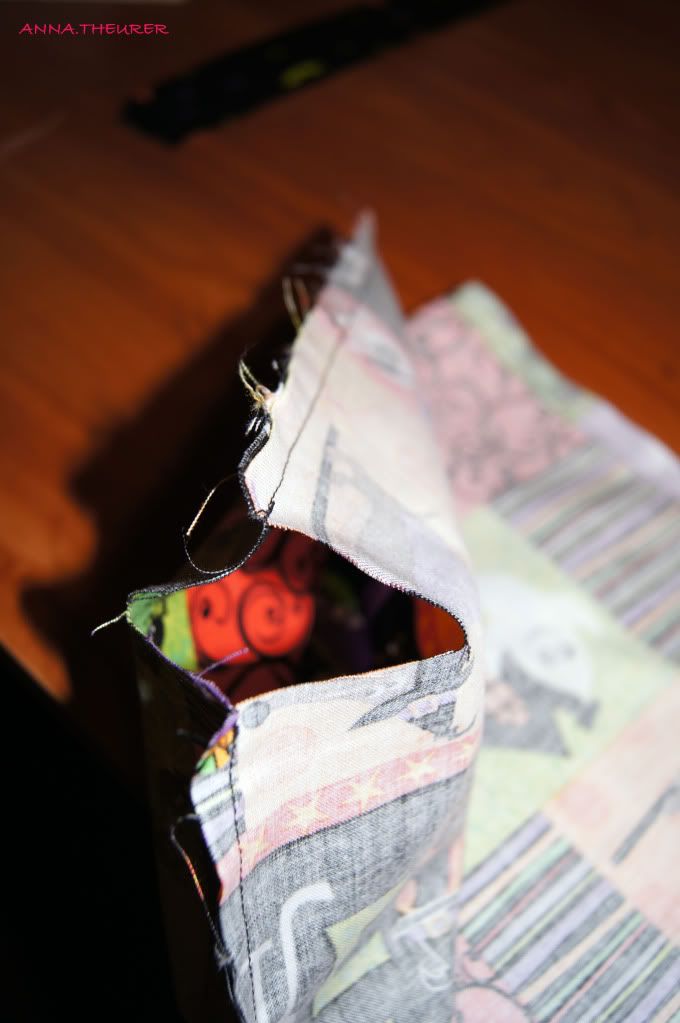 |
| End of the side seam meets end of the bottom seam. |
Sew the corners together like so.
 |
| Sewing corners together. |
Your bag should now have a flat bottom.
Turn the lining bag inside out so that WRONG sides are touching.
For the handles:
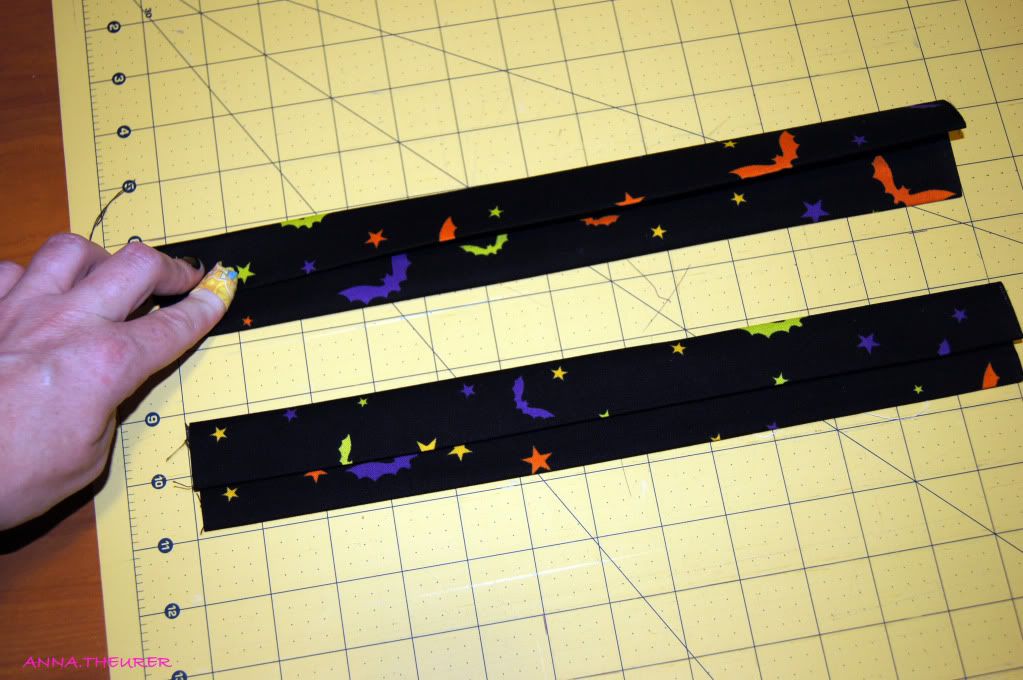
Fold each 12 x 6 piece in half length-wise. Iron.
Open each piece and press both sides for of the fabric in towards the center crease.
 |
| Press each side towards the center crease. |
Press the center crease on each piece closed again.
 |
| Press the center crease closed on each handle |
Stitch length-wise down the center of each handle and ~1/4"-1/8" on each side of the handle to make it sturdy.
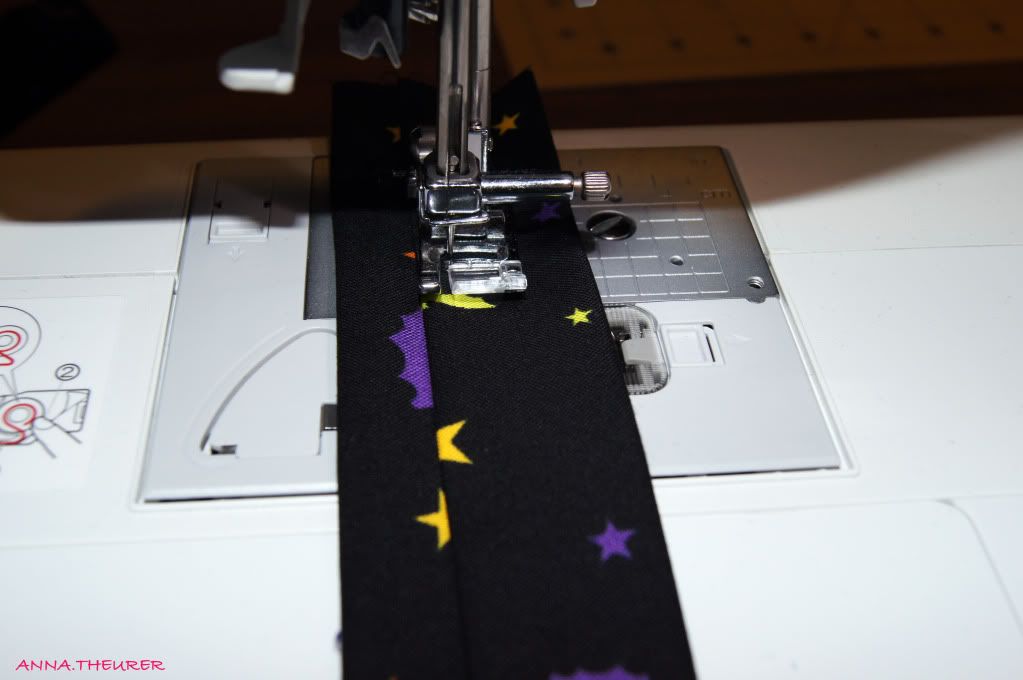 |
| Stitch down the center of the handle. |
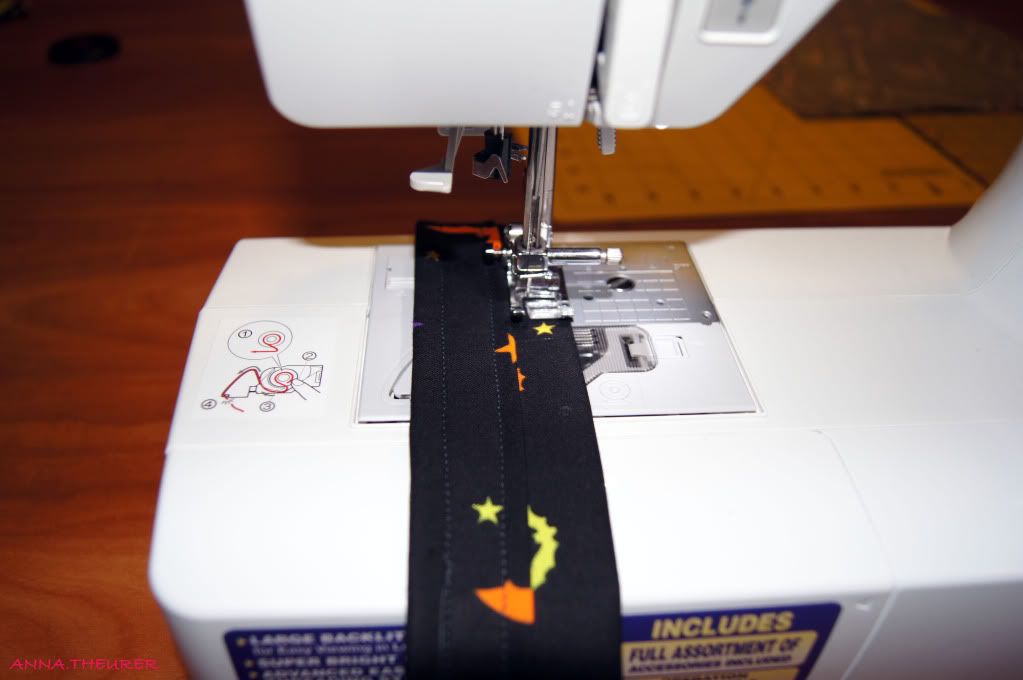 |
| Stitch on each side of the handle length-wise. |
This is what the completed handles should look like:
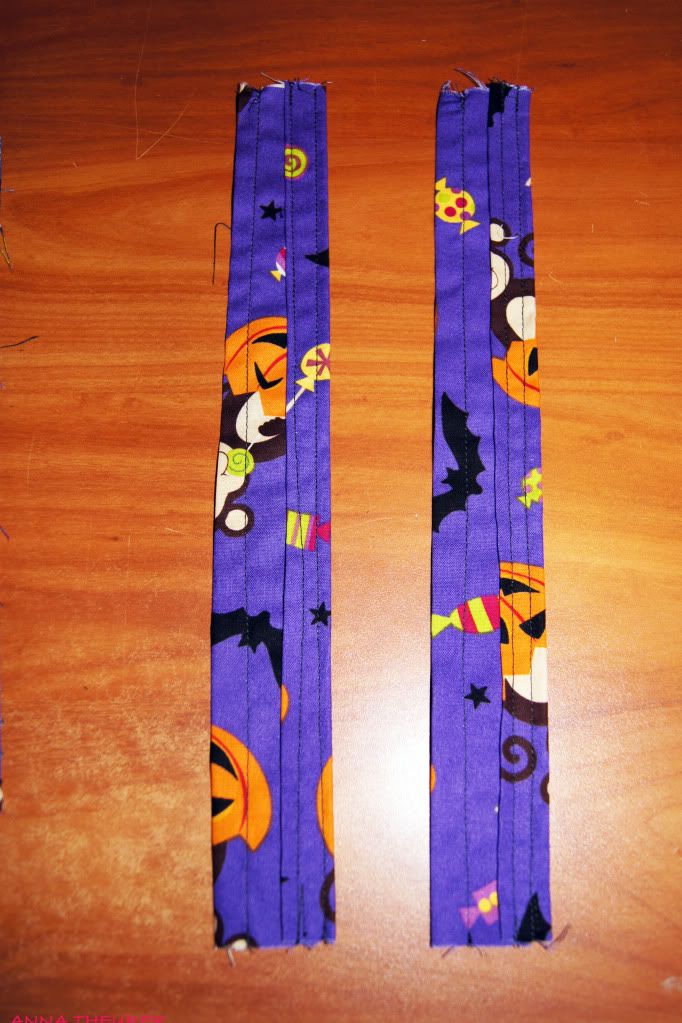 |
| Okay, so this looks pretty sloppy, but notice that there are 3 vertical stitches on each handle--one in the center and one on each side. |
Now you are going to pin the handles onto RIGHT side of the lining. Make sure the handles are not twisted. I pinned the needles ~2 inches in on each end of the fabric.
 |
| Pin the handles onto the RIGHT side of the fabric |
Baste the handles into place.
Place the lining of the bag into the other bag so that RIGHT sides are together. Make sure the handles match up and are inside as well.
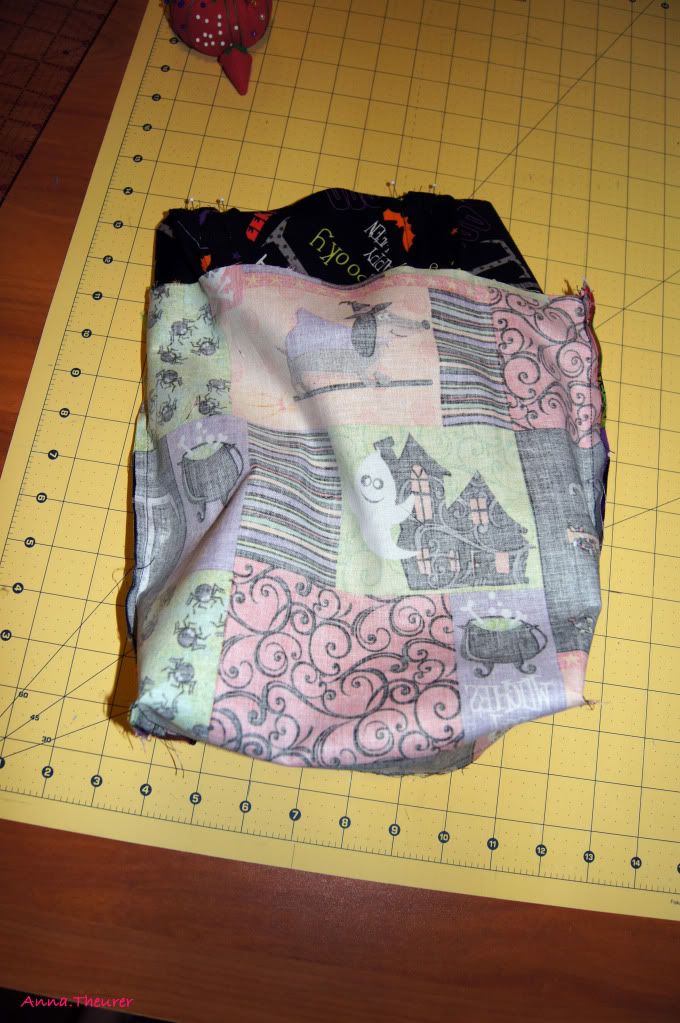 |
| Place the lining into the main bag with RIGHT sides facing.
Keep the handles between the two bags. |
Pin around the tops of the bags and stitch together. Leave about 4 inches unsewn. Remember to stitch only 2 layers together otherwise you will be sewing your bag shut.
 |
| Pin along the top. Sew two layers together. Leave a 4" gap for turning. |
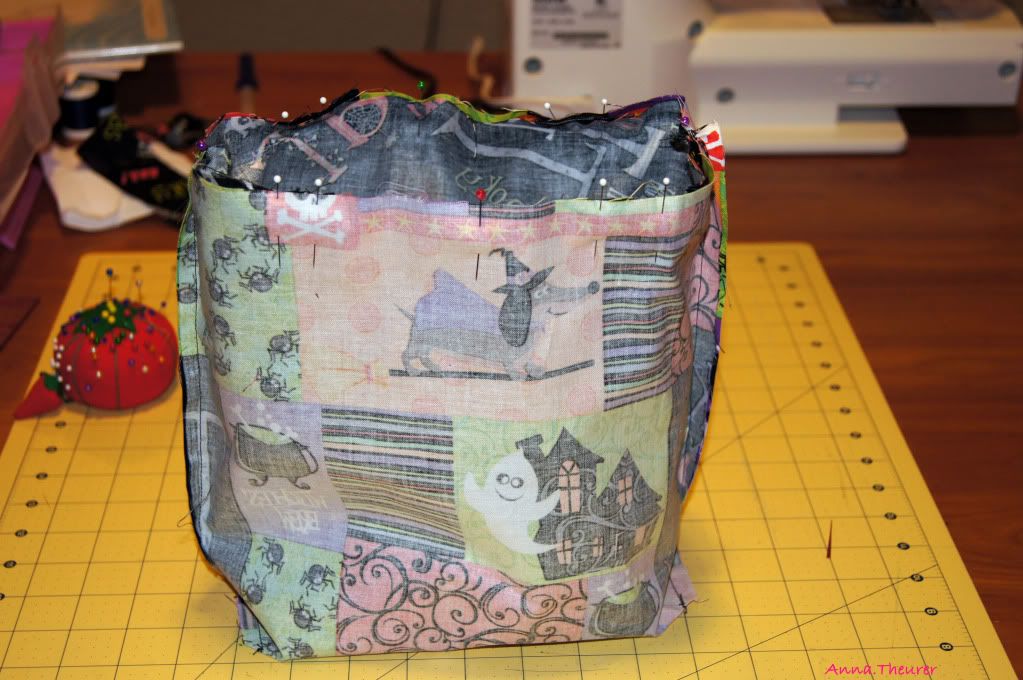
Now, to bring the right sides to the outside by pulling the bags through the 4" hole.
 |
| Fancy, huh? See the little unsewn portion of the bag?--that is where I pulled the right sides through. |
Top stitch the 4-inch gap closed.
Shove the lining into the fabric so that you have:
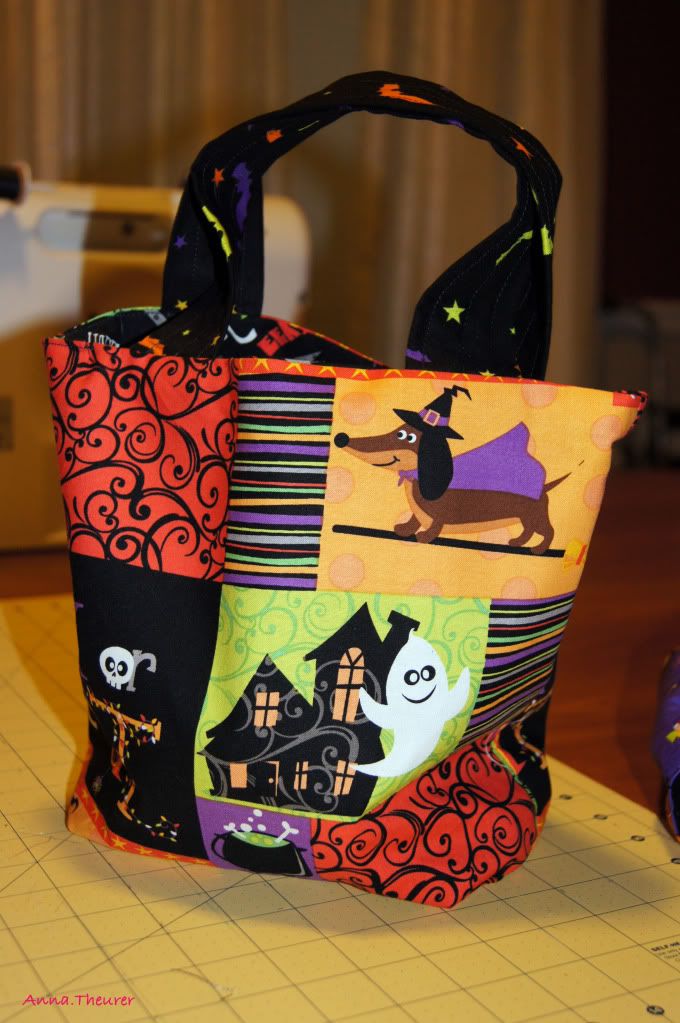 |
| A completed, reversible Trick-or-Treat Halloween bag! |


